Chat Control est un projet de règlement de l’Union européenne proposé par la Commission le 11 mai 2022 afin d’instaurer un cadre légal pour détecter, signaler et retirer les contenus d’abus sexuels sur mineur·es en ligne (CSAR/CSAM)1.
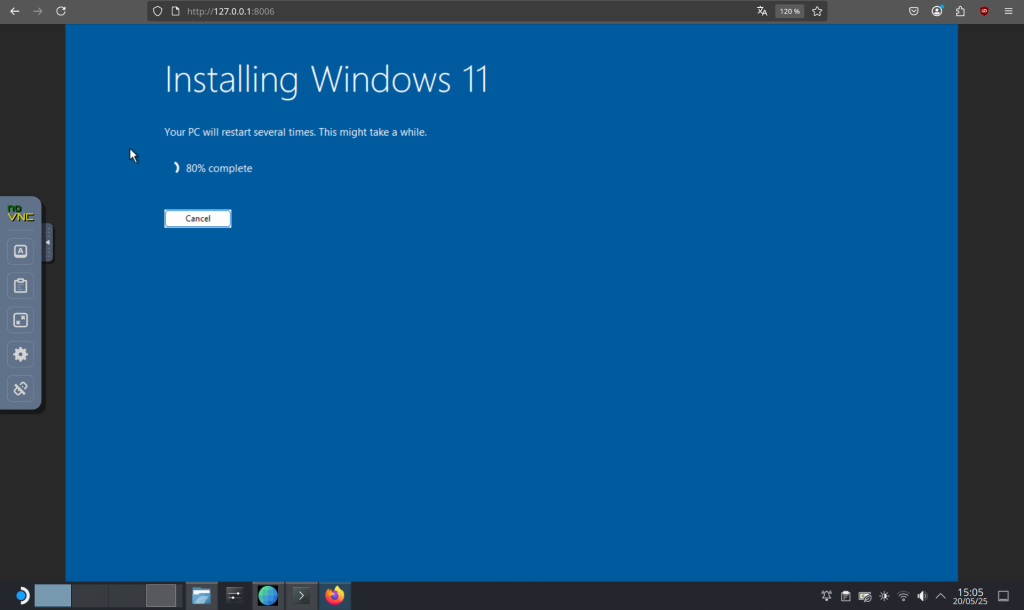
Sit back and relax while the magic happens, the whole installation will be performed fully automatic.
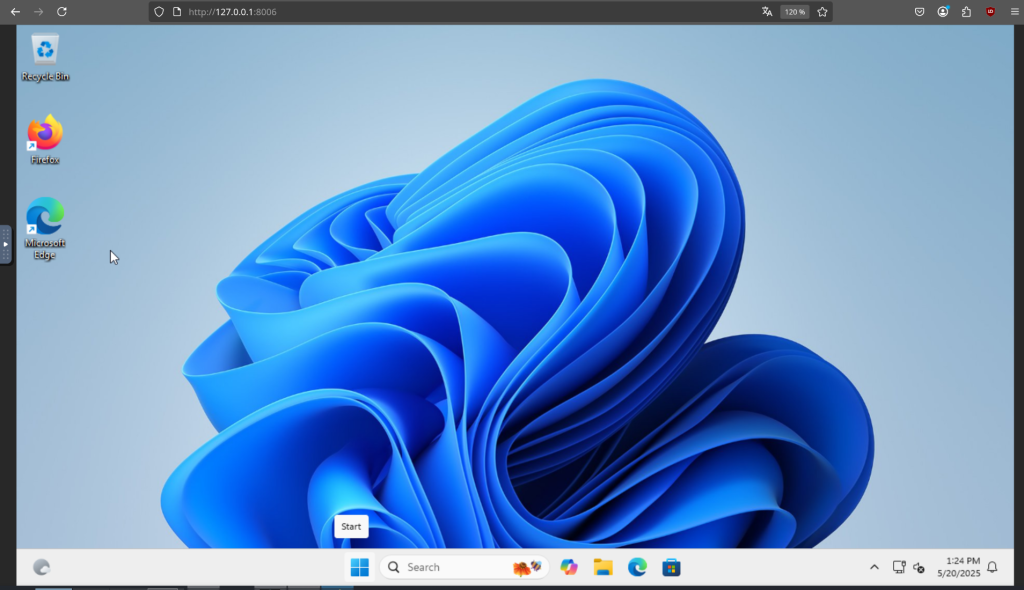
Once you see the desktop, your Windows installation is ready for use.
Enjoy your brand new machine, and don’t forget to star this repo!
How do I select the Windows version?
By default, Windows 11 Pro will be installed. But you can add the VERSION environment variable to your compose file, in order to specify an alternative Windows version to be downloaded:
environment:
  VERSION: "11"
Select from the values below:
Value
Version
Size
11
Windows 11 Pro
5.4 GB
11l
Windows 11 LTSC
4.7 GB
11e
Windows 11 Enterprise
4.0 GB
10
Windows 10 Pro
5.7 GB
10l
Windows 10 LTSC
4.6 GB
10e
Windows 10 Enterprise
5.2 GB
8e
Windows 8.1 Enterprise
3.7 GB
7u
Windows 7 Ultimate
3.1 GB
vu
Windows Vista Ultimate
3.0 GB
xp
Windows XP Professional
0.6 GB
2k
Windows 2000 Professional
0.4 GB
2025
Windows Server 2025
5.6 GB
2022
Windows Server 2022
4.7 GB
2019
Windows Server 2019
5.3 GB
2016
Windows Server 2016
6.5 GB
2012
Windows Server 2012
4.3 GB
2008
Windows Server 2008
3.0 GB
2003
Windows Server 2003
0.6 GB
Tip
To install ARM64 versions of Windows use [dockur/windows-arm](https://github.com/dockur/windows-arm/).
How do I change the storage location?
To change the storage location, include the following bind mount in your compose file:
volumes:
  - ./windows:/storage
Replace the example path ./windows with the desired storage folder or named volume.
How do I change the size of the disk?
To expand the default size of 64 GB, add the DISK_SIZE setting to your compose file and set it to your preferred capacity:
environment:
  DISK_SIZE: "256G"
Tip
This can also be used to resize the existing disk to a larger capacity without any data loss.
How do I share files with the host?
Open ‘File Explorer’ and click on the ‘Network’ section, you will see a computer called host.lan.
Double-click it and it will show a folder called Data, which can be bound to any folder on your host via the compose file:
volumes:
  -  ./example:/data
The example folder ./example will be available as \\host.lan\Data.
Tip
You can map this path to a drive letter in Windows, for easier access.
How do I change the amount of CPU or RAM?
By default, the container will be allowed to use a maximum of 2 CPU cores and 4 GB of RAM.
If you want to adjust this, you can specify the desired amount using the following environment variables:
environment:
  RAM_SIZE: "8G"
  CPU_CORES: "4"
How do I configure the username and password?
By default, a user called Docker is created during installation and its password is admin.
If you want to use different credentials, you can configure them in your compose file (only before installation):
environment:
  USERNAME: "bill"
  PASSWORD: "gates"
How do I select the Windows language?
By default, the English version of Windows will be downloaded.
But before installation you can add the LANGUAGE environment variable to your compose file, in order to specify an alternative language:
If you want to use a keyboard layout or locale that is not the default for your selected language, you can add KEYBOARD and REGION variables like this (before installation):
environment:
  REGION: "en-US"
  KEYBOARD: "en-US"
How do I select the edition?
Windows Server offers a minimalistic Core edition without a GUI. To select those non-standard editions, you can add a EDITION variable like this (before installation):
environment:
  EDITION: "core"
How do I install a custom image?
In order to download an unsupported ISO image, specify its URL in the VERSION environment variable:
Alternatively, you can also skip the download and use a local file instead, by binding it in your compose file in this way:
volumes:
  - ./example.iso:/boot.iso
Replace the example path ./example.iso with the filename of your desired ISO file. The value of VERSION will be ignored in this case.
How do I run a script after installation?
To run your own script after installation, you can create a file called install.bat and place it in a folder together with any additional files it needs (software to be installed for example).
Then bind that folder in your compose file like this:
volumes:
  -  ./example:/oem
The example folder ./example will be copied to C:\OEM and the containing install.bat will be executed during the last step of the automatic installation.
How do I perform a manual installation?
It’s recommended to stick to the automatic installation, as it adjusts various settings to prevent common issues when running Windows inside a virtual environment.
However, if you insist on performing the installation manually at your own risk, add the following environment variable to your compose file:
environment:
  MANUAL: "Y"
How do I connect using RDP?
The web-viewer is mainly meant to be used during installation, as its picture quality is low, and it has no audio or clipboard for example.
So for a better experience you can connect using any Microsoft Remote Desktop client to the IP of the container, using the username Docker and password admin.
There is a RDP client for Android available from the Play Store and one for iOS in the Apple Store. For Linux you can use FreeRDP
and on Windows just type mstsc in the search box.
How do I assign an individual IP address to the container?
By default, the container uses bridge networking, which shares the IP address with the host.
If you want to assign an individual IP address to the container, you can create a macvlan network as follows:
An added benefit of this approach is that you won’t have to perform any port mapping anymore, since all ports will be exposed by default.
Important
This IP address won’t be accessible from the Docker host due to the design of macvlan, which doesn’t permit communication between the two. If this is a concern, you need to create a [second macvlan](https://blog.oddbit.com/post/2018-03-12-using-docker-macvlan-networks/#host-access) as a workaround.
How can Windows acquire an IP address from my router?
After configuring the container for macvlan, it is possible for Windows to become part of your home network by requesting an IP from your router, just like a real PC.
To enable this mode, in which the container and Windows will have separate IP addresses, add the following lines to your compose file:
It is possible to pass-through disk devices or partitions directly by adding them to your compose file in this way:
devices:
  - /dev/sdb:/disk1
  - /dev/sdc1:/disk2
Use /disk1 if you want it to become your main drive (which will be formatted during installation), and use /disk2 and higher to add them as secondary drives (which will stay untouched).
How do I pass-through a USB device?
To pass-through a USB device, first lookup its vendor and product id via the lsusb command, then add them to your compose file like this:
If the device is a USB disk drive, please wait until after the installation is fully completed before connecting it. Otherwise the installation may fail, as the order of the disks can get rearranged.
How do I verify if my system supports KVM?
First check if your software is compatible using this chart:
Product
Linux
Win11
Win10
macOS
Docker CLI
✅
✅
❌
❌
Docker Desktop
❌
✅
❌
❌
Podman CLI
✅
✅
❌
❌
Podman Desktop
✅
✅
❌
❌
After that you can run the following commands in Linux to check your system:
sudo apt install cpu-checker
sudo kvm-ok
If you receive an error from kvm-ok indicating that KVM cannot be used, please check whether:
the virtualization extensions (Intel VT-x or AMD SVM) are enabled in your BIOS.
you enabled « nested virtualization » if you are running the container inside a virtual machine.
you are not using a cloud provider, as most of them do not allow nested virtualization for their VPS’s.
If you did not receive any error from kvm-ok but the container still complains about a missing KVM device, it could help to add privileged: true to your compose file (or sudo to your docker command) to rule out any permission issue.
Yes, this project contains only open-source code and does not distribute any copyrighted material. Any product keys found in the code are just generic placeholders provided by Microsoft for trial purposes. So under all applicable laws, this project will be considered legal.
Disclaimer ⚖️
The product names, logos, brands, and other trademarks referred to within this project are the property of their respective trademark holders. This project is not affiliated, sponsored, or endorsed by Microsoft Corporation.